So as of right now these are the pieces we ended up with...
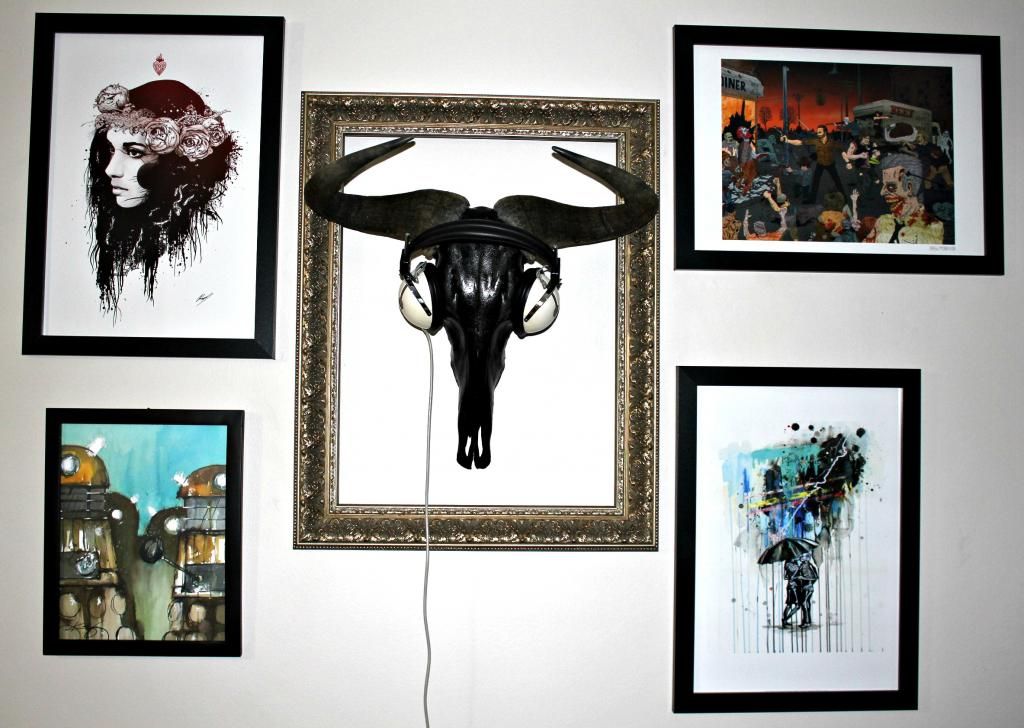
- "Love Shock" by Lora Zombie
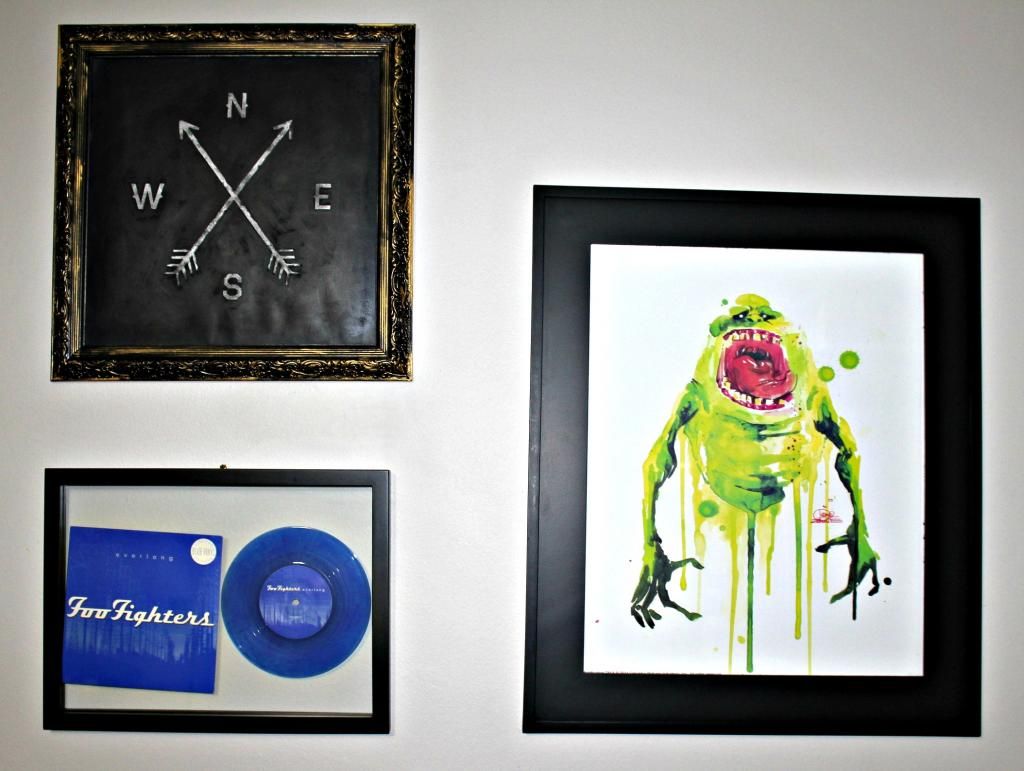
- "Slimer" by Lora Zombie
- "Compass" by Zach Terrell
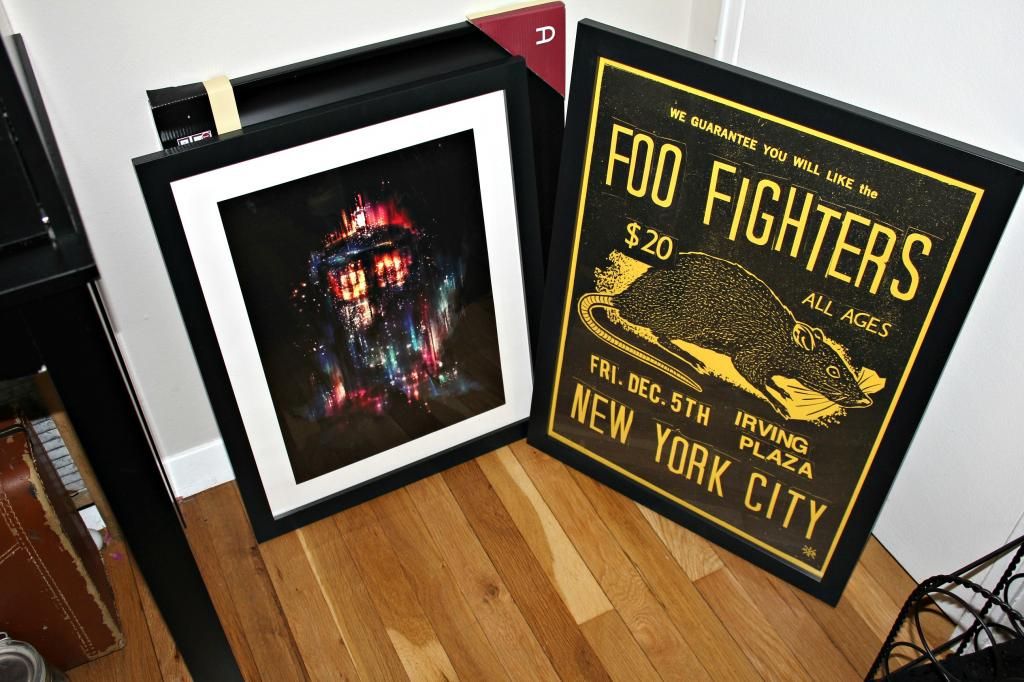
- "All of Time and Space" by Alice X. Zhang
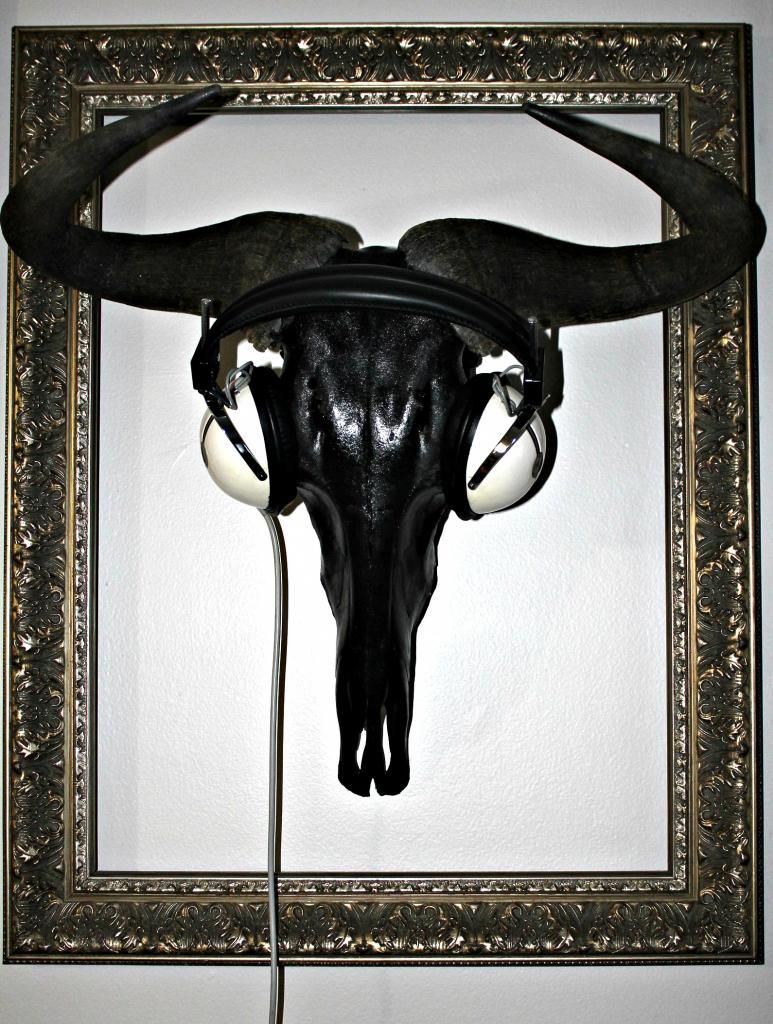
Even though we ended up with a bunch of prints we felt like we needed a little something more and that is when we decided that we should have a bison skull like the one in Sherlock's apartment in BBC's Sherlock (2010-Present) -- Which for those of you unfamiliar with the series looks like this.
- South African Blue Wildebeest Skull (eBay) - $79.99
- TEAC HP-101 Vintage Headphones* (eBay) - $34.99
- ProMask Blue Designer Painter’s Tape (Home Depot) - $3.93
- Design Master Glossy Black Spray Paint (Michaels) - $7.49
- Studio DéŽcor® Antique Champagne Open Back Frame 18x24 (Michaels) -
$79.99$35.99 - Super Hooks (Home Depot) - $5.95
- Beadalon® German Style Wire, Round, 22 Gauge (Michaels) - $3.99
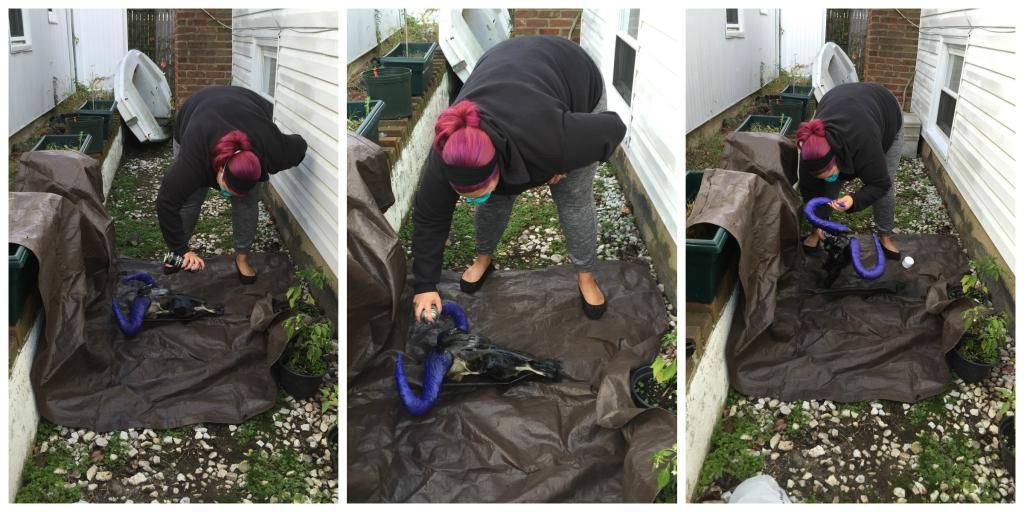
STEP ONE: Using painters tape, mask off the horn (The skull on the Sherlock set isn't completely spray painted. The horns were left in their natural state, so we did the same).
STEP TWO: Put down a tarp (If you don't have one you can get one from Home Depot or your local hardware store. My parents' happened to have a bunch so we didn't need to buy one), put on a mask and spray paint away.
 |
| I don't know how to ladies over at A Beautiful Mess always look so cute crafting |
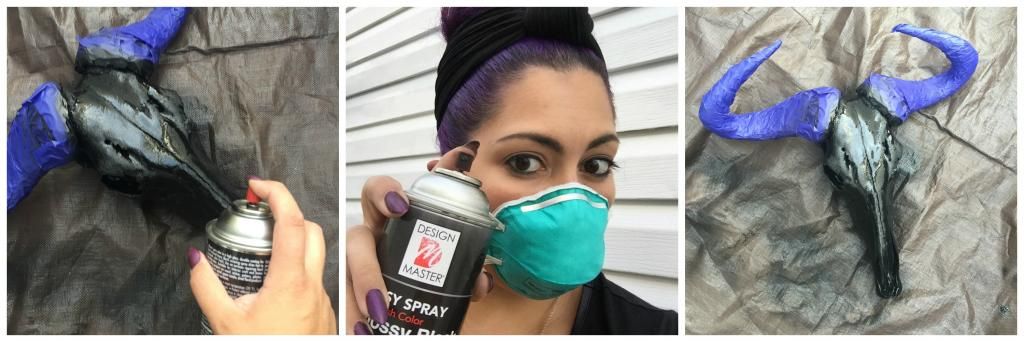
STEP THREE: Once the skull is completely dried, remove the painters tape.
STEP FOUR: Loop wire through the back of the skull to create a sturdy base for hanging.
STEP FIVE: Pick the spot you'd like to hang the skull (I recommend using a stud finder) and hang it up -- Since we don't own our apartment we used Super Hooks to hang, you can use nails.
STEP SIX: This step is optional and not exactly like the prop skull in Sherlock, but we decided to put a picture frame around the skull in lue of mounting it on a black painted wooden plaque. So we had to figure out exactly where we wanted the skull, put the Super Hooks up without the skull and fit the picture frame properly around them, hung it and then hung the skull.
STEP SEVEN: Put the headphones on the skull and enjoy.
Total Cost: $172.33
Not the cheapest of wall art but we love how it came out and everyone who comes over tells us how cool it is.
So, what do you guys think of our art choices and/or our little Sherlock DIY? Do you have any cool artwork up in your homes? Lemme know!
* The headphones used on the actual prop are Eagle International SE-40 Headphones but Justin couldn't find a pair and ended up liking the look of the TEAC HP-101's better.
No comments :
Post a Comment