MENU

Showing posts with label Craft Demos. Show all posts

January 19, 2015

RE: Picking Out Artwork + A Sherlock Inspired DIY...

Back in August I mentioned in a post that Justin and I were looking into artwork for our apartment. So I wanted to do a little update on that because we've picked up some of the pieces that I mentioned in that post as well as some others, plus I wanted to share our Sherlock bison skull inspired art project.

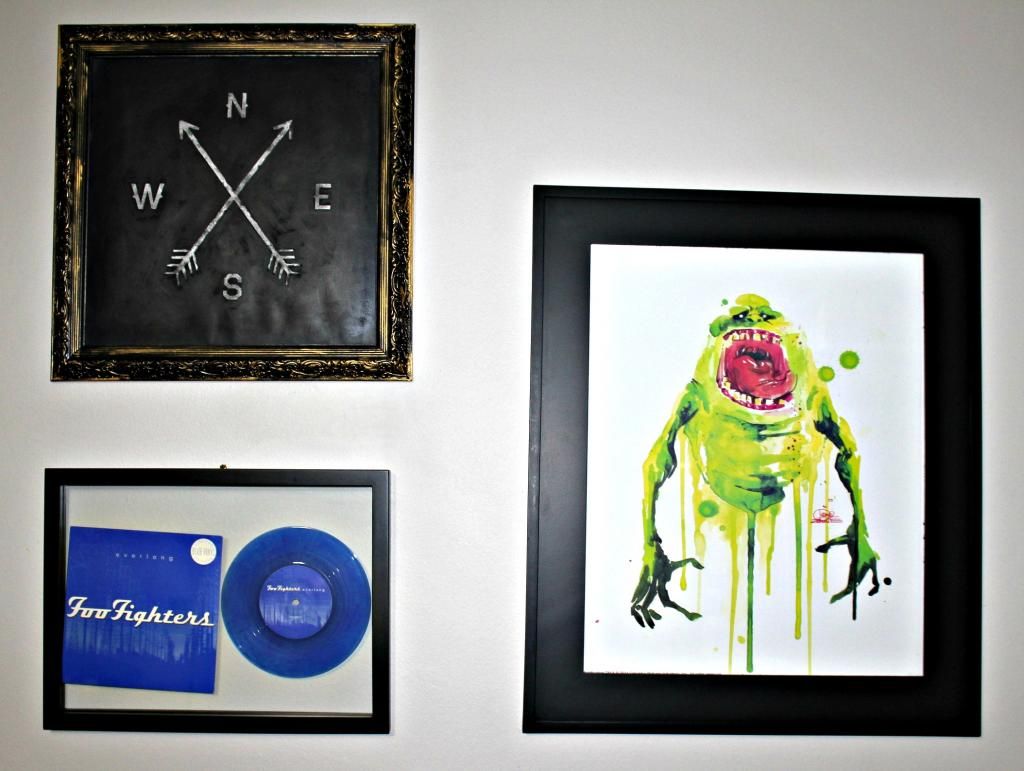
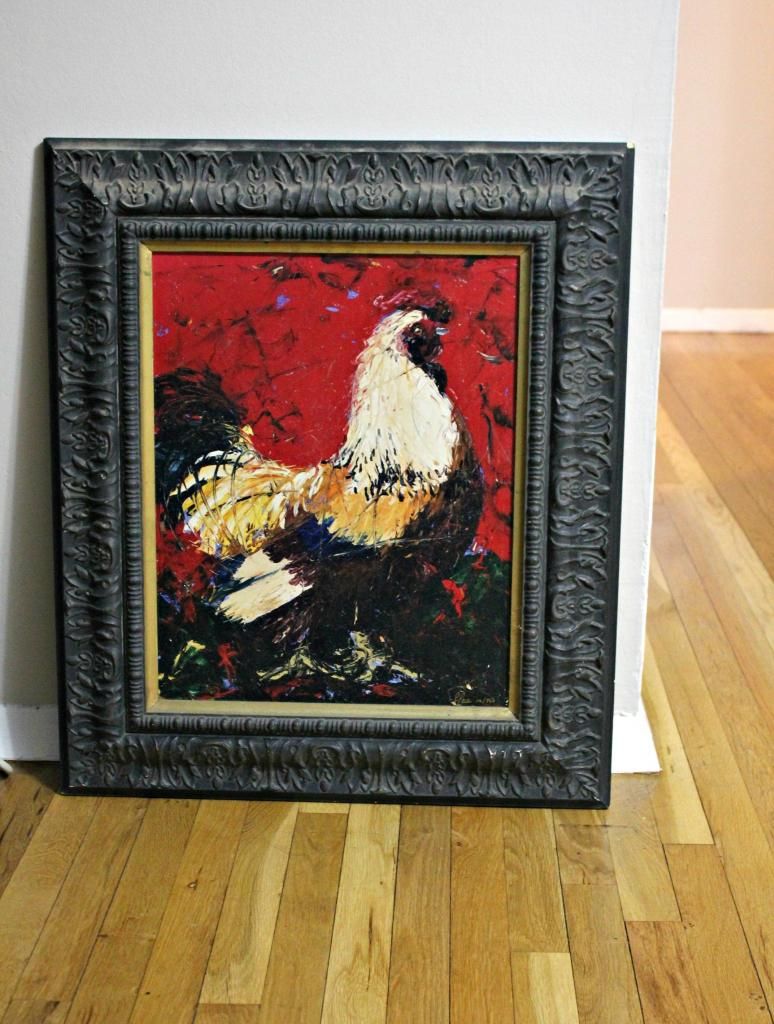
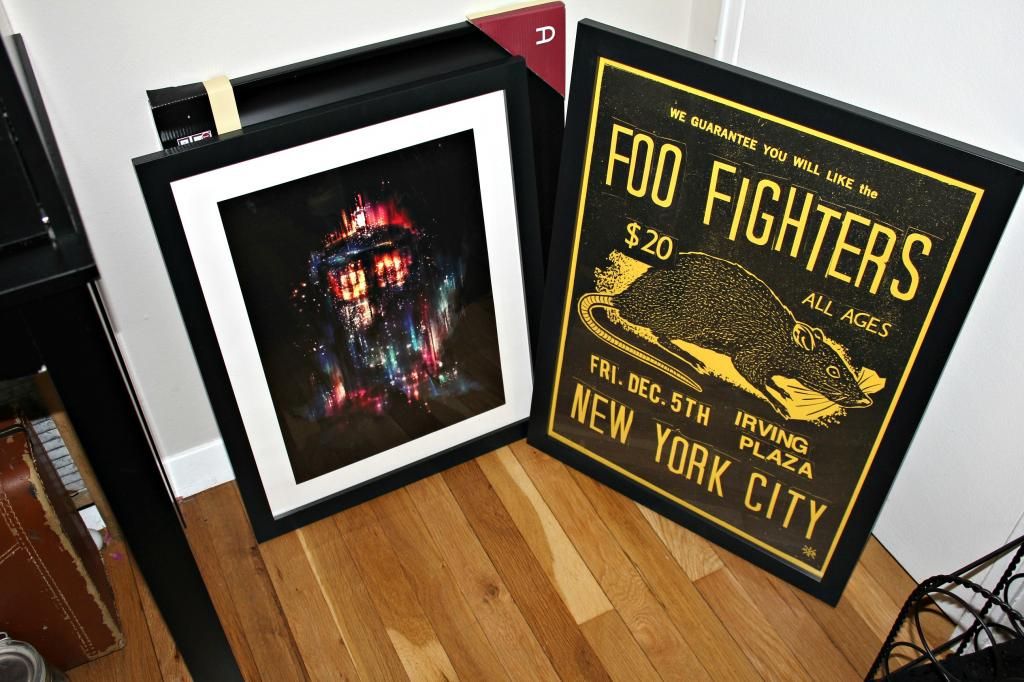
So as of right now these are the pieces we ended up with...
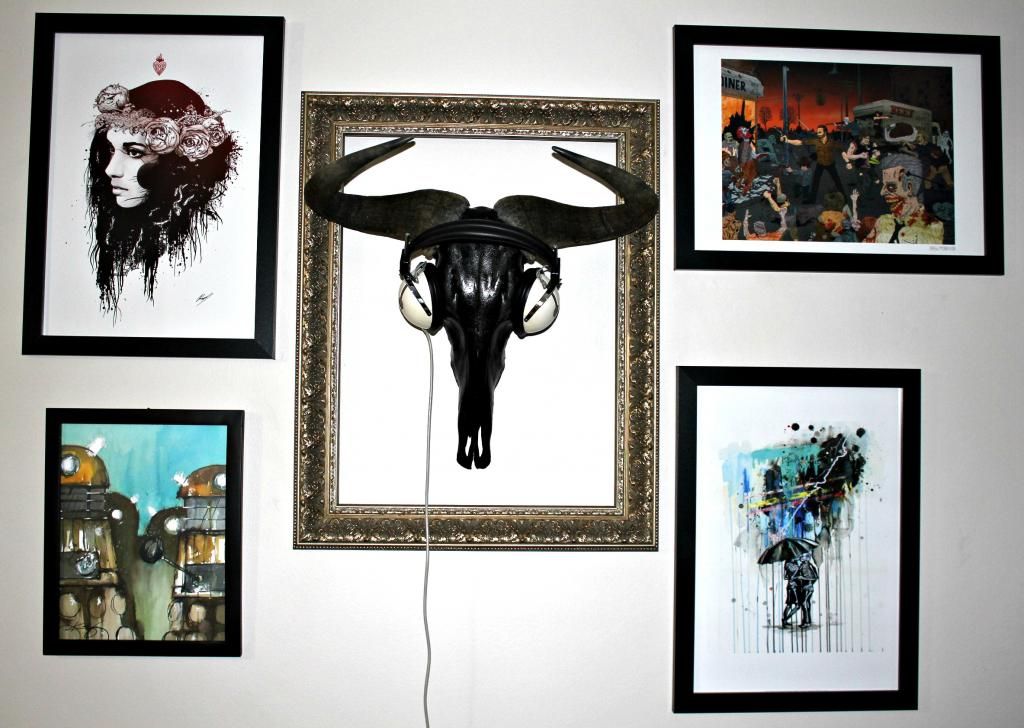
Unfortunately I don't know the artists of several of these because I picked them up at New York Comic Con back in October at various booths or in the case of the cock, the thrift store. But the ones I know are as follows...
Not Pictured
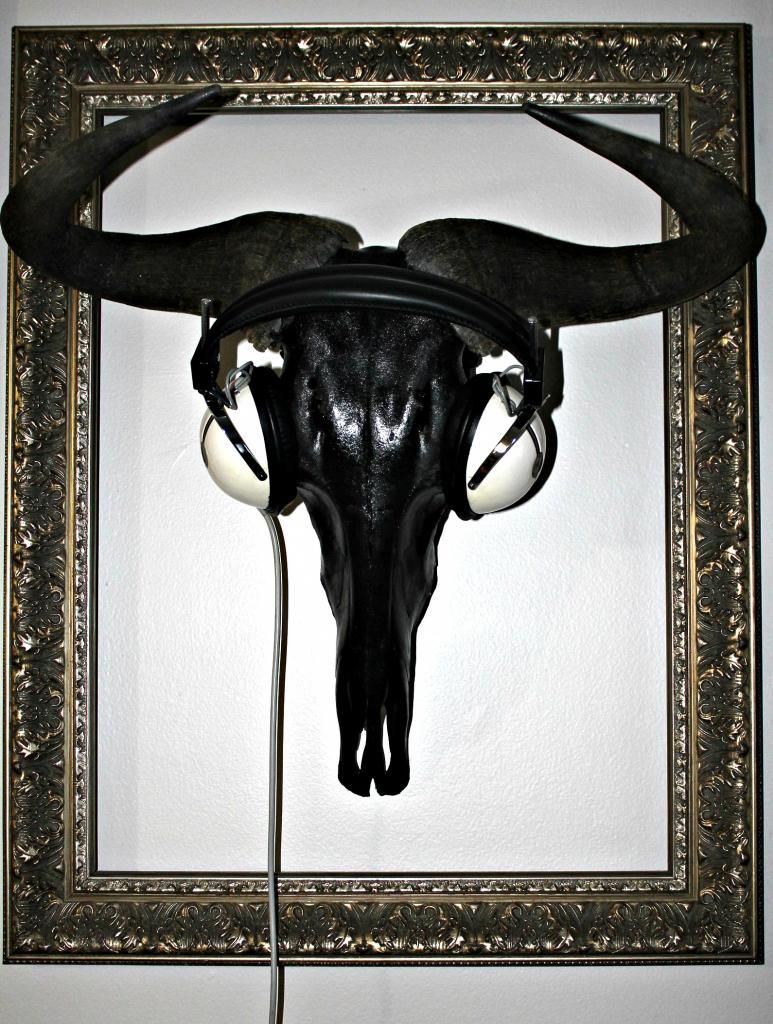
Even though we ended up with a bunch of prints we felt like we needed a little something more and that is when we decided that we should have a bison skull like the one in Sherlock's apartment in BBC's Sherlock (2010-Present) -- Which for those of you unfamiliar with the series looks like this.
SUPPLIES
  • South African Blue Wildebeest Skull (eBay) - $79.99
  • TEAC HP-101 Vintage Headphones* (eBay) - $34.99
  • ProMask Blue Designer Painter’s Tape (Home Depot) - $3.93
  • Design Master Glossy Black Spray Paint (Michaels) - $7.49
  • Studio DéŽcor® Antique Champagne Open Back Frame 18x24 (Michaels) - $79.99 $35.99
  • Super Hooks (Home Depot) - $5.95
  • Beadalon® German Style Wire, Round, 22 Gauge (Michaels) - $3.99

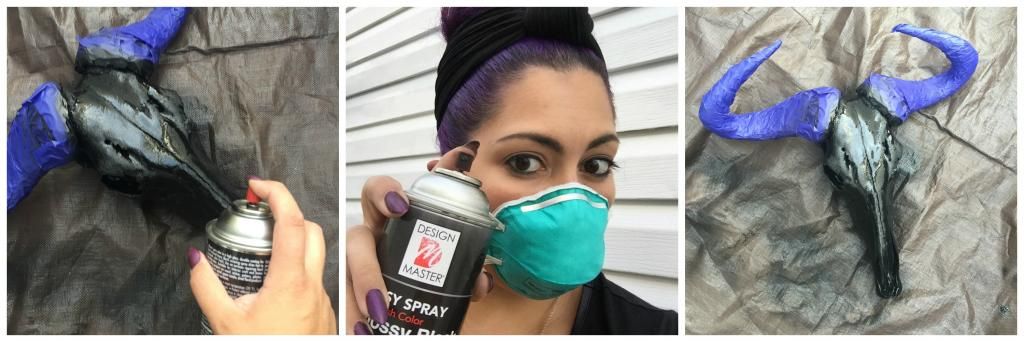
STEP ONE: Using painters tape, mask off the horn (The skull on the Sherlock set isn't completely spray painted. The horns were left in their natural state, so we did the same).

STEP TWO: Put down a tarp (If you don't have one you can get one from Home Depot or your local hardware store. My parents' happened to have a bunch so we didn't need to buy one), put on a mask and spray paint away.
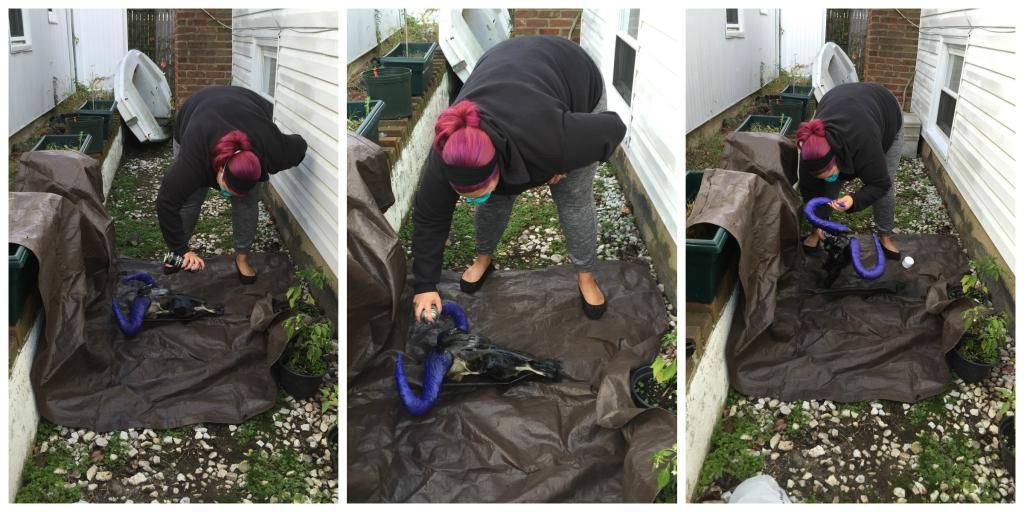
I don't know how to ladies over at A Beautiful Mess always look so cute crafting
As you can probably tell seeing as my hair is two different colors in these photos, this was not a one day project. I spray painted the skull with one coat of the glossy black paint and after I noticed I had missed a few spots and that the skull absorbed the paint weird in spots so it wasn't super shiny. So after making sure the skull was completely dry I went back, gave it another coat and it was just the way I wanted it.

STEP THREE: Once the skull is completely dried, remove the painters tape.

STEP FOUR: Loop wire through the back of the skull to create a sturdy base for hanging.

STEP FIVE: Pick the spot you'd like to hang the skull (I recommend using a stud finder) and hang it up -- Since we don't own our apartment we used Super Hooks to hang, you can use nails.

STEP SIX: This step is optional and not exactly like the prop skull in Sherlock, but we decided to put a picture frame around the skull in lue of mounting it on a black painted wooden plaque. So we had to figure out exactly where we wanted the skull, put the Super Hooks up without the skull and fit the picture frame properly around them, hung it and then hung the skull.

STEP SEVEN: Put the headphones on the skull and enjoy.

Total Cost: $172.33

Not the cheapest of wall art but we love how it came out and everyone who comes over tells us how cool it is.

So, what do you guys think of our art choices and/or our little Sherlock DIY? Do you have any cool artwork up in your homes? Lemme know!

* The headphones used on the actual prop are Eagle International SE-40 Headphones but Justin couldn't find a pair and ended up liking the look of the TEAC HP-101's better.
July 3, 2013

Craft Demo: Painted Flower Pot...

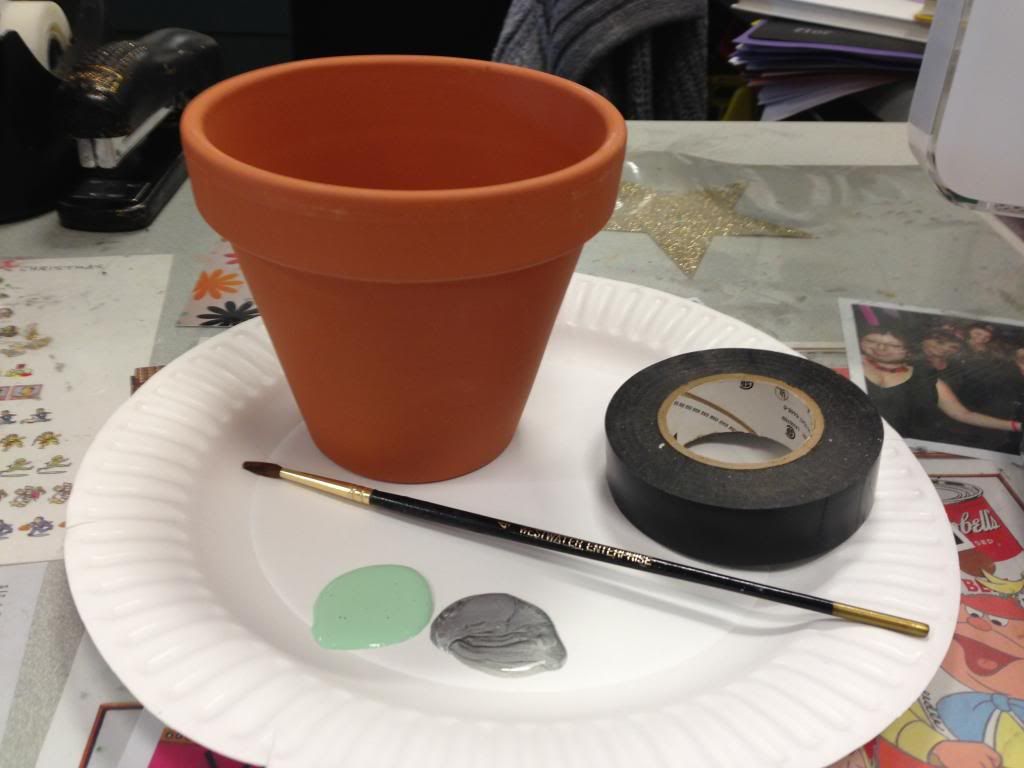
Since I have a gardening craft coming up next week where the kids are painting clay pots and planting their own little windowsill gardens, I thought that I'd throw together my own painted pot as a demo.

• Clay Pot • Tape • Paint Brush(es) •
• Acrylic Paint (Apple Barrel Colors - 20583 Victorian Green & Palmer Prism - 171503 Pure Silver) •

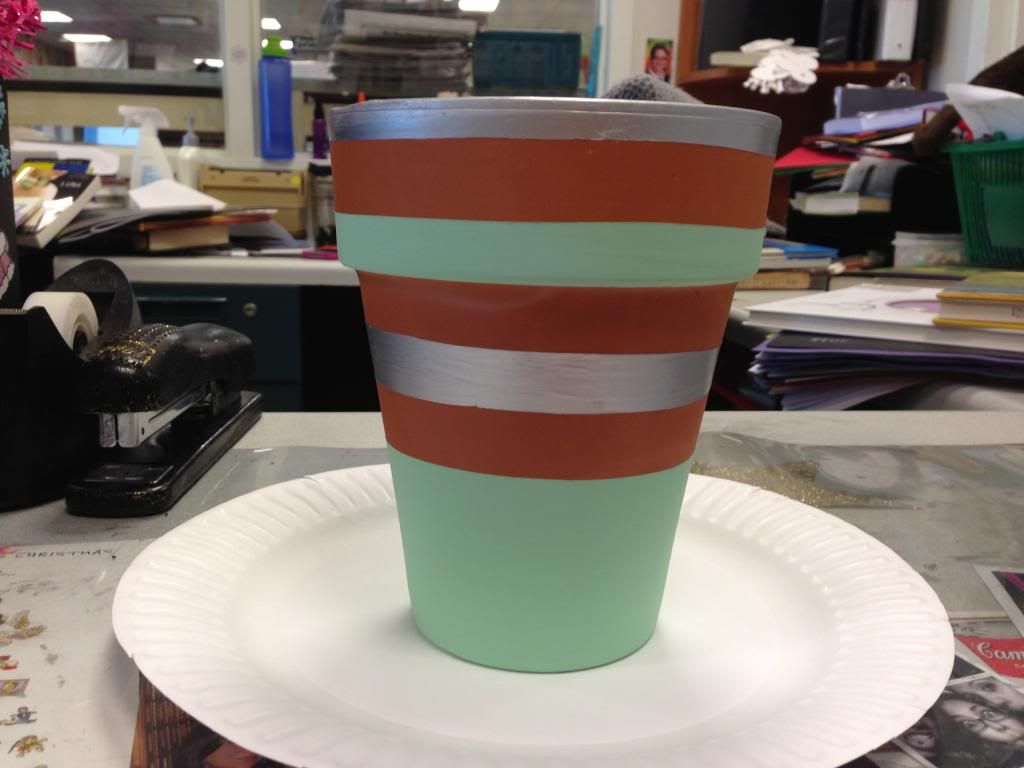
I've been seeing a lot of painted terracotta pots with portions of the pot exposed in my various reads recently and I really enjoy the look so I thought that I'd give it a try. And here is how it came out...
With my particular pot I used the tape (I couldn't find any masking tape, so I used what I had which was some electrical tape) to create stripes in various sizes and painted around them with the minty green and silver alternating -- I am a big fan of that color combination.

I absolutely love the way it came out. I cannot wait to take this bad boy home and replant the basil that Phil gave me as a housewarming gift in it.

February 7, 2013

Getting My Craft On...

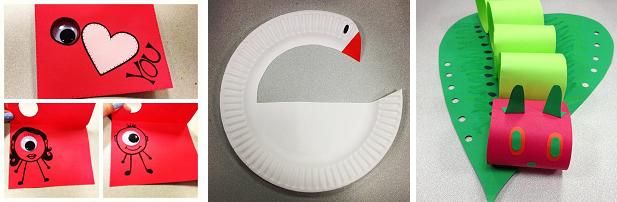
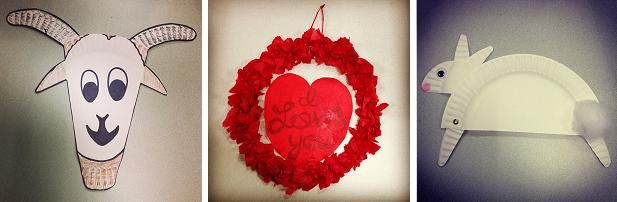
Since my library still isn't open to the public and I'm doing various odd tasks or whatever you'd like to call them, I decided yesterday that I was going to make a bunch of craft demos for story times I'd like to do when we are once again open for business or as an outreach type program. And since I think my crafts are pretty flipping cute I decided to share them all with you (Exciting, I know), so maybe you can get inspired to be a little crafty today.
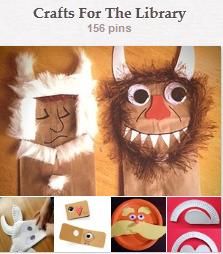
I found some version of all of the crafts above on Pinterest, so if you're interested in instructions you can find them if you click on my "Crafts For The Library" board.
On a side note, I know I haven't been the most exciting person as of late (I mean, aside from possibly breaking stuff and needing stitches) but I have a few interesting things coming up next week that I can't wait to share with all of you! I hope you're all out there doing wonderful things!

January 6, 2012

Oh My God, Shoes...

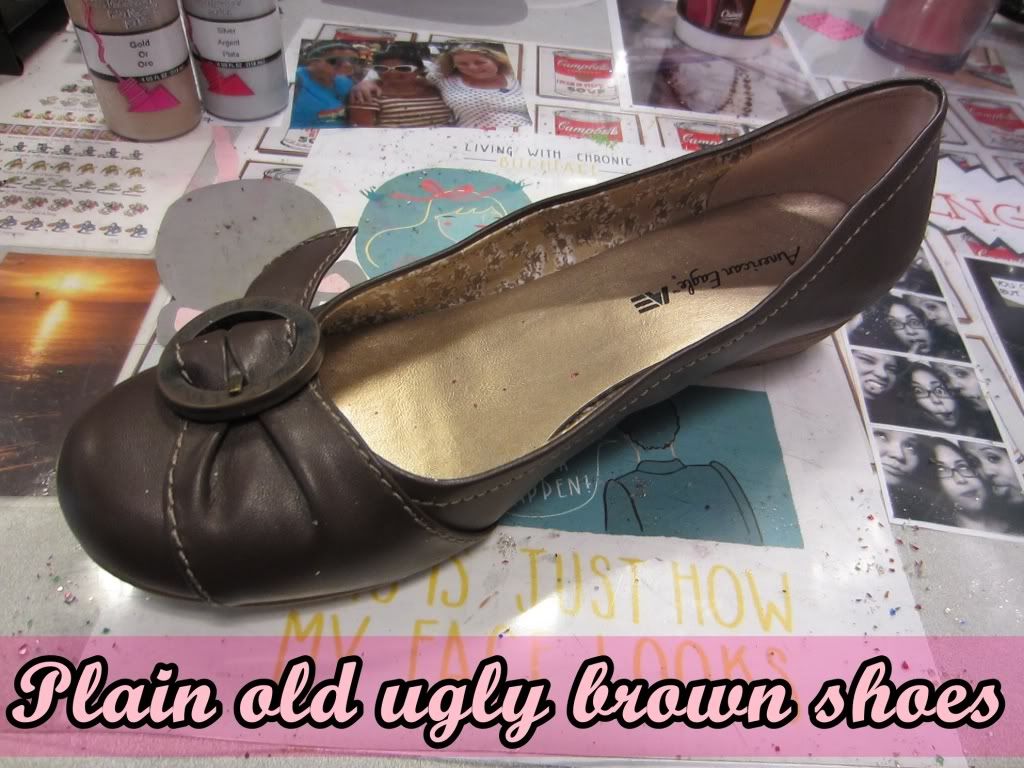
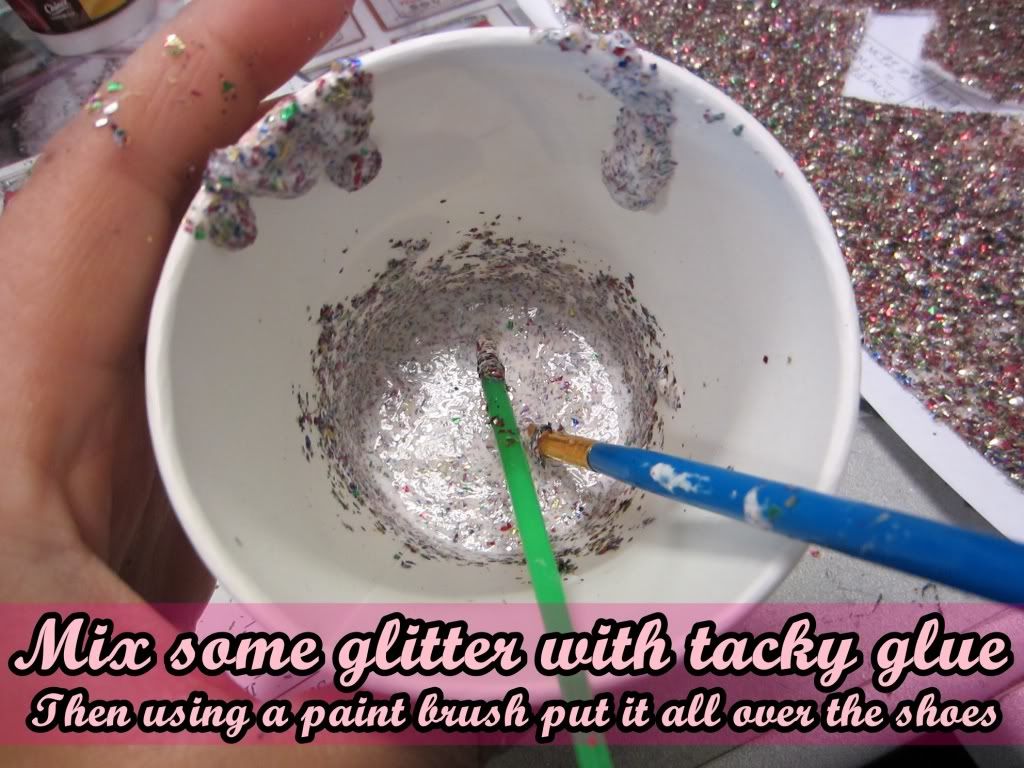
Yesterday I was extremely bored at work so I decided to take a pair of shoes that my Department Head gave me and cover them in glitter. I did this half because I like playing with glitter and wanted a pair of glitter shoes and half because I thought it would make a neat teen craft at some point.


Here are some other glitter shoe tutorials from some of my favorite bloggers...
♥ How To Make Glitter Shoes! via A Beautiful Mess
♥ DIY Glitter Shoes! via The Dainty Squid
♥ D.I.Y Glitter Shoes via Ella Blog

November 8, 2011

Thanksgiving Craft...

I honestly had the busiest day today, I literately spent all day long setting up for my Thanksgiving craft. From the minute I walked in at 1:00pm up until clean up was done around 7:10pm, I was living and breathing this craft.

It was a food based craft so I had to mix food coloring into frosting, put said frosting in zip bags to make individual pipping bags for the kids, cut peanut butter cups and ice cream cones filled with cake, count out candy corn and malt balls, make popcorn, divide chocolate frosting into cups, count out paper bags, etc... And on top of prepping and setting it all up I had to make demos of each craft.


I set up the room as if twelve kids were going to show up, five did -- One of those kids was my friends daughter accompanied by Erin. We started off with the popcorn paper bag turkeys and worked our way to the Oreo™ turkeys. Everyone seemed to have fun and everyone enjoyed eating their creations once we were finished making them.
It was a lot of work but I think it was totally worth it.

Crafts Links

October 27, 2011

365 Days Of Pictures: Day 240...


Here is the horrible craft demo that I was forced to make. It pains my soul. I swear something as ugly as this will never come from desk again.

Too Many Programs In One Day...

Honestly, at this very moment in time my Department Head isn't my favorite person in the world. Because of her ill planning I'm stuck doing a craft (That no one found the need to create a demo of) and video game night practically back to back. On top of this I have a lack of a dinner break which isn't cool. In addition to these things I'm currently all by myself in the department because "Julia" is the only person working with me today and she is taking a two hour break in order to go to physical therapy and lunch. I'm really very annoyed.

September 8, 2011

365 Days Of Pictures: Day 191...


This is a craft I've been working on for the past couple of days. It is for surfing themed storytime we are having next week. I cut out pieces of cardboard into the shape of surfboards (Which was a pain in the ass to do, but "Mini Page" helped me out and made a few) and I was going to have the children decorate their own using acrylic paint and other various items from our craft closet.

April 21, 2011

March 31, 2011

Clay Pots & Paint...

I spent this fine Thursday stuck working with "Julia" and "Sarah" -- It sucked, I'm going to give my Department Head a piece of my mind on the matter in the AM tomorrow because she sent me a text last night saying that she saved me from working alone with "Sarah" on a Saturday, but she leaves me with her and the other one all day today (Can't you tell I'm annoyed?). So instead of dealing with them I sat at my desk in the office and started making a bunch of clay pot craft demos. I was inspire to make the Lorax, a spaceship and a frog -- As you can tell by the picture I only finished the Lorax, which I was making as a possible Earth Day craft. Working on the clay pots kept me busy for hours and magically made them stay away from me -- Though I can imagine what "Sarah" is going to say to our Department Head tomorrow about what I was doing because she is an evil bitch. I'll keep you updated on what they all turn into, which will probably end up being tomorrows post if I'm lucky enough to get to chill at my desk all day again.

August 19, 2010

Craft Demo Disaster...

As Youth Services Department Librarians, myself and my coworkers get to do a lot of arts & crafts with the kids that come in and we have to make a lot of craft demos -- We make demos of the crafts we are doing to try and draw a bigger crowd, because when they see what the craft is going to look like ahead of time they tend to sign up and actually show up.

That being said, the other day "Julia" had a craft demo she had to make and it was the ugliest thing I have ever seen -- I mean, she has made ugly things in the past but I'm pretty sure this one took the cake. It was so bad I felt the need to make a proper demo to show people how good the craft could actually look. Here are the two side-by-side.


How ugly is that turtle?! I would never bring my child to a library craft program if the demos looked like that. I don't understand putting out a product that looks like that.